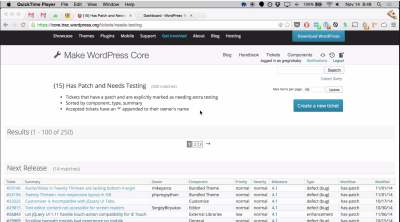
It was suggested that I start with the handbook, however, my head was spinning about three paragraphs in! What I really wanted… was someone to show me.
Thankfully, Michael Beckwith had a moment, and we jumped on a screen-share and he walked me through the process. It’s really quite easy, and an hour later I had submitted my first patch. I can’t believe I was nervous!
The concept for getting your feet wet:
- Visit Trac and find a “needs testing” ticket
- Test a patch
- Make any necessary adjustments and submit an updated patch
By using a “needs testing” ticket, the code has already been written – enabling you to dive right in and start testing. This will help you become familiar with SVN and testing on your local environment.
The hard(er) part: development environments, SVN, diffs and aaahhh!
As overwhelming as it can seem, this part isn’t hard(er). In-fact, it’s no different than working on a client’s site:
Using a local development environment, version control (SVN), and a code editor – you will be reviewing and/or updating/creating code patches.
Here are the steps:
- Set up a local development environment
- Check out Trunk via CLI or use an app like Cornerstone (Mac) or Tortoise (Windows)
- Download a patch, and “apply” it
- Test, test, test!
- Make adjustments, save updated patch.
- Upload to Trac
- Reset SVN and repeat!
Rather than drone on, I’ve created a screencast that goes over the steps above.
I hope this helps encourage and inspire you to begin contributing. While you’re at it, go ahead and join us in chat.
Good luck!
UPDATE: The patch mentioned in the screencast was merged in, and I received props!