

We’ve talked earlier about using Vagrant and VVV for local development, and now it’s time to take it a step further. Taking mobile devices into account when developing a website is no longer optional; it’s a requirement. That leaves you with a problem: How can you use good development practices to develop locally while still ensuring that the site looks good and functions properly on a mobile device? This tutorial will show you how to view a locally developed website on other devices. It’s not as difficult as you may think…
Preface
The specific instructions in this guide will be tailored toward Mac OS X. With that said, however, you should be able to accomplish this on all major Operating Systems (Mac, Windows, Linux).
This guide is also tailored towards those using Vagrant for local development. It is certainly possible to use other local development tools and still achieve the same sort of outcome. If you are using another tool, such as MAMP/WAMP/XAMP, or Desktop Server, keep in mind that you will likely have to research specific solutions for your tool of choice.
Requirements
Before we begin, you’re going to need a few things. The Setup section below will give further details about how to install everything. If you already have Vagrant and VVV set up and running, feel free to skip ahead. Here is exactly what you need:
- VirtualBox
- Vagrant
- Varying Vagrant Vagrants (aka “VVV”)
Setup
Install VirtualBox
VirtualBox can be run on all major Operating Systems. Visit the VirtualBox Downloads page to download the appropriate installer for your system. The file that you download will be an executable installer tailored to your system, so you should be able to simply install it much like any other software.
Install Vagrant
Like VirtualBox, Vagrant can be run on all major Operating Systems. Visit the Vagrant Downloads page to download the appropriate copy. Also like VirtualBox, the downloaded file will be an installer that you can simply run.
Install VVV
The next step is to install Varying Vagrant Vagrants, or “VVV” for short. VVV is most easily installed using Git. Simply git clone the repository to your local machine wherever you want it to live. To install to your home directory, open up your Terminal and enter the following:
git clone https://github.com/Varying-Vagrant-Vagrants/VVV.git vvv
This will create a directory named “vvv”. When you open that directory, you will see the files and folders that make up the Varying Vagrants Vagrant project. Before we continue, you should follow steps one through seven in the section labelled The First Vagrant Up. Make sure you STOP before step eight as there are some other things we will need to do first.
If you do not have Git on your system, or if you are not familiar/comfortable with using Git, then you can can download a zip file. Here is a link that you can use: https://github.com/varying-vagrant-vagrants/vvv/archive/master.zip.
It’s worth noting at this point that if you’re avoiding using Git because you’re uncomfortable with the command line, you’ll need to get past your discomfort. Vagrant is managed with the Command Line. ?
Customizing VVV
The default configuration of VVV sets up a private network. While that’s fine for most purposes, that isn’t the best solution if we want to be able to use other devices to get to the virtual machine. That means we need to provide our own configuration to override the defaults. There are three ways to go about doing this, but only two of them are recommended:
- Create a file named
Customfilein thevvvdirectory. - Create a file named
Vagrantfilein your home directory:~/.vagrant.d/Vagrantfile - Modify the
Vagrantfilein thevvvdirectory (bad idea, avoid this at all costs).
Use Customfile
VVV Provides a way for you to Customize your VVV setup, without needing to modify the Vagrantfile directly. Navigate to your vvv folder, and use your text editor of choice to create a file named Customfile. Here’s what you should put inside of it:
  # Set up with a Public network
  config.vm.network :public_network
The main advantage of this method is that it applies to only this virtual machine. That means that if you have other vagrants running elsewhere on your system, they won’t be affected.
Use a Vagrantfile in your home directory
When you use Vagrant, there is a primary Vagrantfile for your project that determines how a virtual machine is configured. As it turns out, that is not the only Vagrantfile that is parsed by Vagrant. According to the documentation, Vagrant will actually read multiple Vagrantfiles when it runs. We can use this to our advantage and set up a global file that has defaults for all instances of Vagrant on our system.
When you installed Vagrant, it created a folder in your home directory named .vagrant.d. This directory is hidden by default (due to the leading period). If you’re using Finder, you can navigate to this directory by going to the “Go” menu, then to “Go to Folder…”. In the dialog that opens, enter ~/.vagrant.d/ and click the “Go” button. If you’re using the terminal, you can just cd ~/.vagrant.d/.
Using your text editor of choice, create a file named Vagrantfile. Here’s what you should put into that file:
# -*- mode: ruby -*-
# vi: set ft=ruby :

Vagrant.configure(2) do |config|
  # Set up with a Public network
  config.vm.network :public_network
end
Note that this will apply the public networking configuration to ALL of the Vagrants running on your system.
Modify the Vagrantfile in the vvv directory
Don’t do this. Really. It makes your life harder. If you insist on doing things this way, you’ll have to figure it out on your own!
Vagrant Up
Now that we have our modifications in place, it’s time to continue with the first Vagrant Up instructions from above, and that means running the vagrant up command from the Terminal. If all goes well, you should be prompted for the network interface shortly after you run the command. Here are the options that I had for my computer:
==> default: Available bridged network interfaces:
1) en0: Wi-Fi (AirPort)
2) en1: Thunderbolt 1
3) en2: Thunderbolt 2
4) p2p0
5) awdl0
6) bridge0
7) en3: Display Ethernet
==> default: When choosing an interface, it is usually the one that is
==> default: being used to connect to the internet.
    default: Which interface should the network bridge to?
While your exact options will vary based on what kind of networking interfaces you have configured, it’s pretty likely that you’re using Wifi to connect to the internet. As you can see in the prompt, you should choose whichever interface is providing your internet connection, which means that if you are using something other than Wifi, you should pick the appropriate option.
Once you enter in a number correlating to the correct option, the Vagrant Up process will continue as usual. Now is the time to just sit back and wait while it completes. Depending on your computer and network speed, this could take quite a bit of time, as there are plenty of things to download and install onto the Vagrant.
Connecting to the Vagrant
We first need to ensure that we can access the vagrant locally before we test across other sites on the network. We also need to determine the IP address that was assigned to the vagrant instance. From the vvv directory, execute the following command in the terminal:
vagrant ssh
This will connect you to the virtual machine, and allow you to run commands on the guest machine instead of your local OS. The next command you should run is ifconfig, which should look something like this:
vagrant@vvv:~$ ifconfig
eth0      Link encap:Ethernet  HWaddr 08:00:27:cf:da:f3
          inet addr:10.0.2.15  Bcast:10.0.2.255  Mask:255.255.255.0
          inet6 addr: fe80::a00:27ff:fecf:daf3/64 Scope:Link
          UP BROADCAST RUNNING MULTICAST  MTU:1500  Metric:1
          RX packets:120157 errors:0 dropped:0 overruns:0 frame:0
          TX packets:41949 errors:0 dropped:0 overruns:0 carrier:0
          collisions:0 txqueuelen:1000
          RX bytes:133209210 (133.2 MB)  TX bytes:3180167 (3.1 MB)

eth1      Link encap:Ethernet  HWaddr 08:00:27:4a:23:7b
          inet addr:192.168.1.30  Bcast:192.168.1.255  Mask:255.255.255.0
          inet6 addr: fe80::a00:27ff:fe4a:237b/64 Scope:Link
          UP BROADCAST RUNNING MULTICAST  MTU:1500  Metric:1
          RX packets:325 errors:0 dropped:0 overruns:0 frame:0
          TX packets:13 errors:0 dropped:0 overruns:0 carrier:0
          collisions:0 txqueuelen:1000
          RX bytes:33102 (33.1 KB)  TX bytes:1522 (1.5 KB)

eth2      Link encap:Ethernet  HWaddr 08:00:27:17:c8:06
          inet addr:192.168.50.4  Bcast:192.168.50.255  Mask:255.255.255.0
          inet6 addr: fe80::a00:27ff:fe17:c806/64 Scope:Link
          UP BROADCAST RUNNING MULTICAST  MTU:1500  Metric:1
          RX packets:26 errors:0 dropped:0 overruns:0 frame:0
          TX packets:8 errors:0 dropped:0 overruns:0 carrier:0
          collisions:0 txqueuelen:1000
          RX bytes:4922 (4.9 KB)  TX bytes:648 (648.0 B)

lo        Link encap:Local Loopback
          inet addr:127.0.0.1  Mask:255.0.0.0
          inet6 addr: ::1/128 Scope:Host
          UP LOOPBACK RUNNING  MTU:65536  Metric:1
          RX packets:0 errors:0 dropped:0 overruns:0 frame:0
          TX packets:0 errors:0 dropped:0 overruns:0 carrier:0
          collisions:0 txqueuelen:0
          RX bytes:0 (0.0 B)  TX bytes:0 (0.0 B)
Your output will likely be slightly different than mine.
As you can see above, there may be multiple network interfaces set up. Knowing which one you will need may require some information about your network…or some trial and error. I have Verizon FIOS at home, and my router is configured to set up IP addresses that start with 192.168.1.*. The last number is going to be unique to each device on the network.
I also know that the default IP address for VVV is 192.168.50.4. Because the default is still running, and we have merely added a network interface, I know to ignore that IP address. I can also ignore the 127.0.0.1 IP address, because that is always an internal address to each computer.
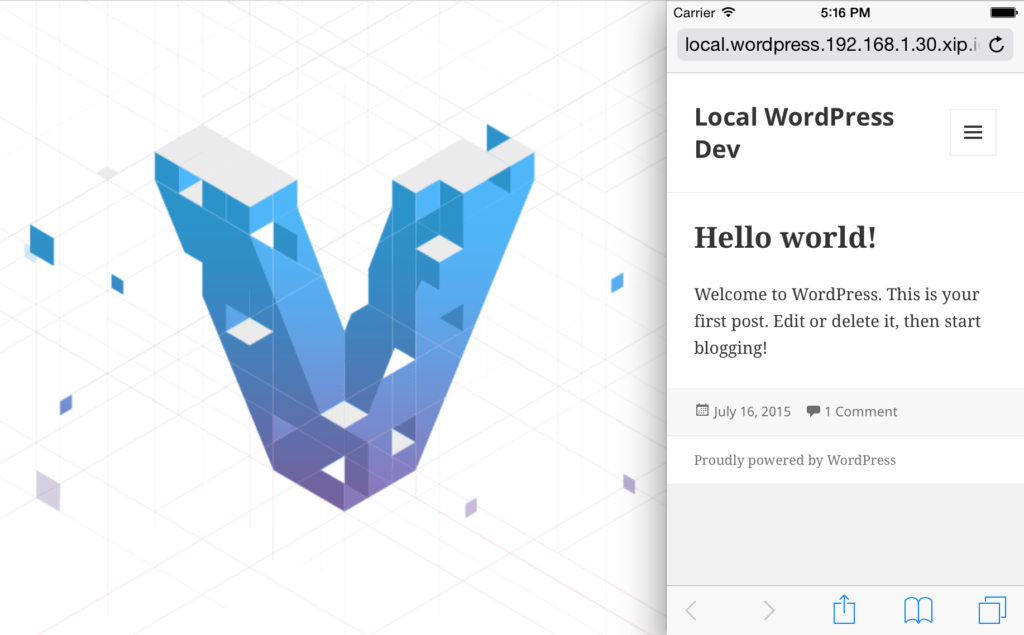
With that knowledge, I’m left with two IP addresses to choose from: 10.0.2.15 and 192.168.1.30. Since I know how my router is configured, I’m going to go with the second address and ignore the one that starts with 10.*. To confirm the address is the one that I want, I should be able to enter that IP address directly in the web browser on my phone. If it’s the right address, then you should see the VVV landing page, which looks like this:

If you’ve gotten to this point, congratulations! You’re most of the way there.
Accessing your site by Domain Name
While getting to the VVV landing page using the IP address is pretty nifty, you will quickly realize that it isn’t very useful. The links won’t work properly, because your phone doesn’t know how to resolve the domain names to the correct IP. Enter a service called xip.io (pronounced ZIP-ee-oh), that just so happens to be built into VVV.
As described on their website, xip.io works this way:
xip.io runs a custom DNS server on the public Internet. When your computer looks up a xip.io domain, the xip.io DNS server extracts the IP address from the domain and sends it back in the response.
That might be confusing, so let’s use an example. In order to use xip.io to access my local sites, I need to know 2 things:
- The IP address of the vagrant. In the previous section, I determined that my example is using the IP
192.168.1.30. - The domain name of the website. I’m going to use the first one listed on the VVV landing page, “local.wordpress.dev”.
To use the xip.io service, I’m going to drop the .dev portion of “local.wordpress.dev”. I’m then going to replace that with .<ip address>.xip.io. Using my actual IP address, that looks like local.wordpress.192.168.1.30.xip.io. Now I can enter that into my mobile phone’s browser, and get to the right place:
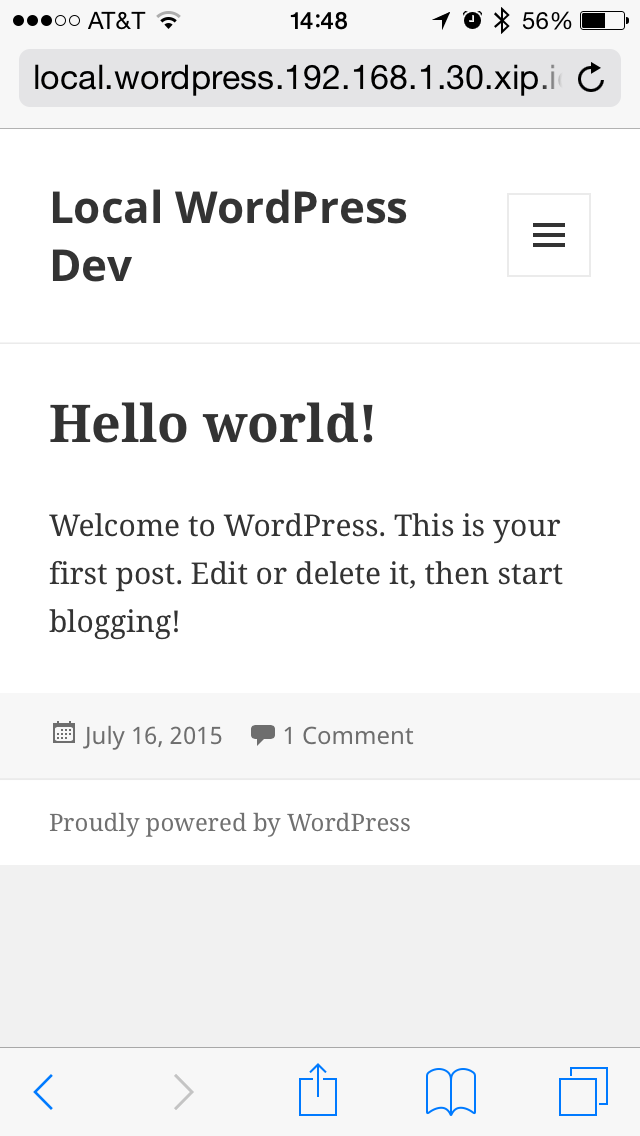
You can apply those same steps to each of the sites on your vagrant. If you want to have custom sites in addition to the default ones, I highly recommend the tool vv, which has built-in support for xip.io.
Conclusion
Well, that’s it! From now on, you can go about properly testing your site in mobile browsers while still developing locally! Questions, comments, or corrections? Please feel free to leave a comment below!
Are you interested in talking about this topic face-to-face? I’ll be giving a short presentation on August 10, 2015 at the Philly ‘Burbs Meetup. Feel free to come on out and participate!