

On a recent project, I started to feel a bit overwhelmed with managing numerous layers with z-index. The thing about z-index is that all of the layers have to be in order, so I end up with multiple z-index declarations in multiple files all over the place. It’s also hard to keep track of the numbers; bump one up and you have to go bump all the others up as well. It gets a bit tedious, especially when you have numerous layers. This can all be fixed with a little bit of Sass, and here’s how to do it!
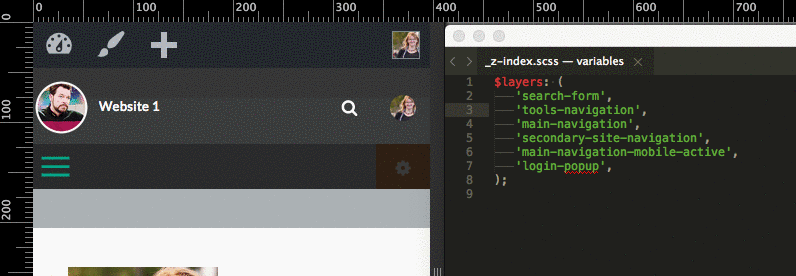
$layers: (
    'navigation', // z-index: 0
    'logo', // z-index: 2
    'login-popup', // z-index: 3
    'overlay', // z-index: 4
);

@function layer-index($layer) {
    // This just returns the named layer's
    // location in the list, which becomes it's z-index.
    @return index($layers, $layer);
}

@mixin z-index($layer, $position:relative) {
    position: $position; // relative by default

     // Set the z-index to the named layer's index in the list.
    z-index: layer-index($layer);
}

.navigation {
    // Use this to name your layers and position them.
    @include z-index(navigation, absolute);
}

.logo {
    @include z-index(logo); // Relative by default
}

.login-popup {
    @include z-index(login-popup, absolute);
}

.overlay {
    @include z-index(overlay, absolute);
}
Just use @include z-index(your-name-goes-here, absolute); to name your layers, and specify its position. Then, add the name to the list of layers in $layers at specific positions in the list (top most layers go towards the bottom). The order of the $layers list is what does the trick. If we wanted the logo to show over the overlay, for instance, we would just move 'logo', right below 'overlay', to get the effect.
All you have to do now is make sure all your elements with z-index use the @include z-index() mixin to name the layer and add it to a position in the $layers list.
An Example
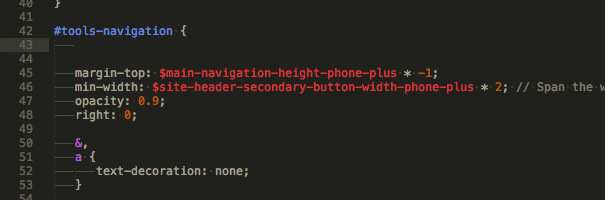
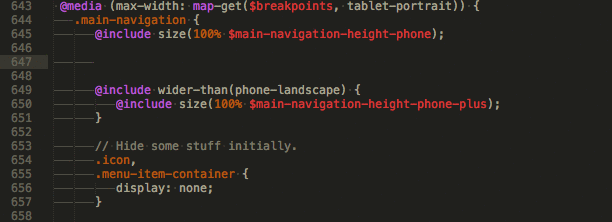
Here we have two menus on a mobile layout. On a mobile layout they are going to overlap a bit, especially if they use both menus at the same time. Right now, the secondary navigation is not accessible; we need to bump that layer up.

Let me show you what we need to do get those two layers squared away with ease:

Now your days of complicated layer management is over. No numbers to keep track of–just layers you can order easily!