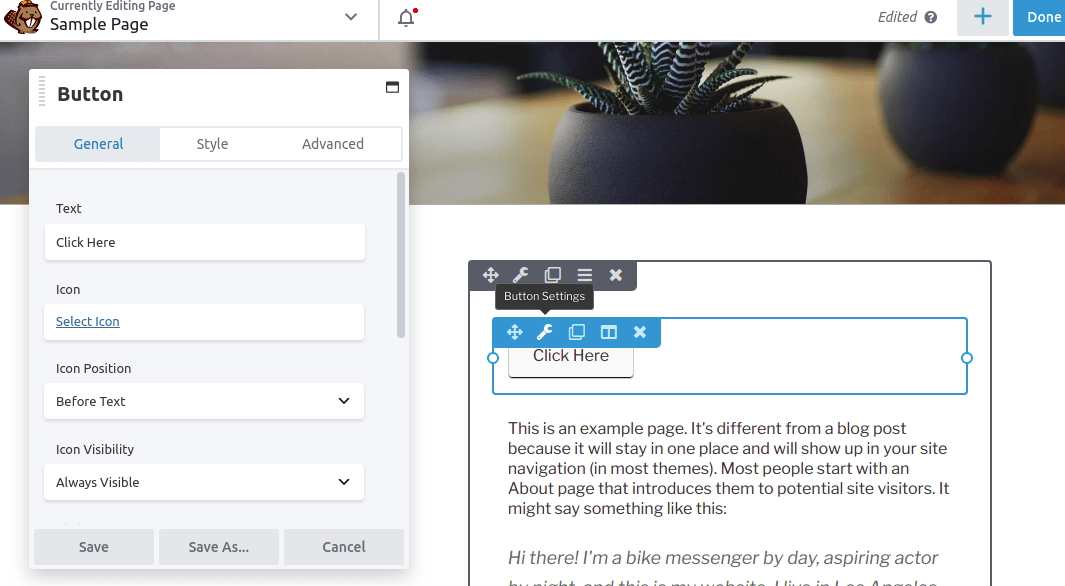
At WebDevStudios (WDS), we’ve used Beaver Builder for several projects because it provides a quick and intuitive way for our clients to customize their websites. The development documentation for Beaver Builder is pretty good, however it falls short in one particular area: custom fields. What fields am I talking about? They’re the ones that show up when you’re editing a particular Beaver Builder module’s settings:
There are a couple of links in the documentation to the templating used with custom fields, but no start-to-finish example. Let’s do one here so you can start creating your own custom fields.
Setup
For this example, I created a plugin with a Beaver Builder module called “Post Category List” to show a list of posts that are in the selected categories. The plugin is very simple—only the minimum amount of components are needed to create a Beaver Builder module:
- A module class that extends
FLBuilderModule - A module registration call –
FLBuilder::register_module() - A
frontend.phptemplate used for rendering
I purposely kept it as simple as possible. There’s no extra styling or JavaScript. I don’t go into detail about creating a custom module because the Beaver Builder documentation does it nicely. However, all code is provided for your review at https://github.com/WebDevStudios/wds-bb-custom-field.
Adding a Custom Field
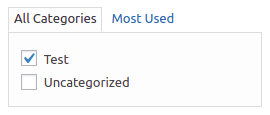
When looking at the Beaver Builder documentation for field types, there’s no option for a “checkbox” field, and I wanted something similar to the category selection box seen when you’re editing a post:
This is where we need a custom field. Since the documentation isn’t super helpful in this regard, it’s time to use the tried-and-true method of reading the source code 😎
Registering a Custom Field
There are two components to a Beaver Builder custom field:
- A PHP file with the field markup & code.
- Field registration through the
fl_builder_custom_fieldshook
To start, you can make your custom field file as simple as possible, like this one from the Beaver Builder documentation:
To register the field, use the fl_builder_custom_fields filter to add a field slug and the path to the field file to the list of Beaver Builder fields (line 50).
Then in your module registration, you can use the newly registered field type in your module definition (line 90).
With those pieces in place we can now do the work to customize our field.
Beaver Builder Field Examples
This is where snooping in the Beaver Builder plugin helped me connect the dots. In the Beaver Builder code, the best examples I could find are the ‘select’ and ‘post-type’ field types. You can find them at bb-plugin/includes/ui-field-select.php and bb-plugin/includes/ui-field-post-type.php. Here is the source code from the shorter ‘post-type’ field as an example:
<select name="{{data.name}}"<# if ( data.field.className ) { #> {{data.field.className}}<# } #>>
    <?php foreach ( FLBuilderLoop::post_types() as $slug => $type ) : ?>
    <option value="<?php echo $slug; ?>"<# if ( data.value === '<?php echo $slug; ?>' ) { #> selected="selected"<# } #>><?php echo $type->labels->name; ?></option>
    <?php endforeach; ?>
</select>
Beaver Builder fields are truly mixed-mode files. They contain HTML markup. They are run through the PHP processor to replace the <?php ?> code. And then anything within <# #> gets executed as JavaScript (JS) in the browser. Also replacements are made in JS where the Mustache style {{ }} tags are found.
Debugging Custom Fields
Keeping track of how all of these things interact can be confusing. For the PHP code, the answer is xdebug. For the JS, it’s not that simple. Normally I would visit the page in Chrome, open the Developer Tools, go find the JS file in the Sources tab, and set a break point to debug it. But the JS between <# #> is in-line and isn’t seen as traditional JavaScript because it’s getting executed through a JS eval() statement.
The solution I found was to insert a debugger; statement inside the inline <# #> JS code (line 15).
You’ll have to uncomment debugger; in the example code to see it in action. Also the Developer Tools must be open prior to loading the page for execution to pause.
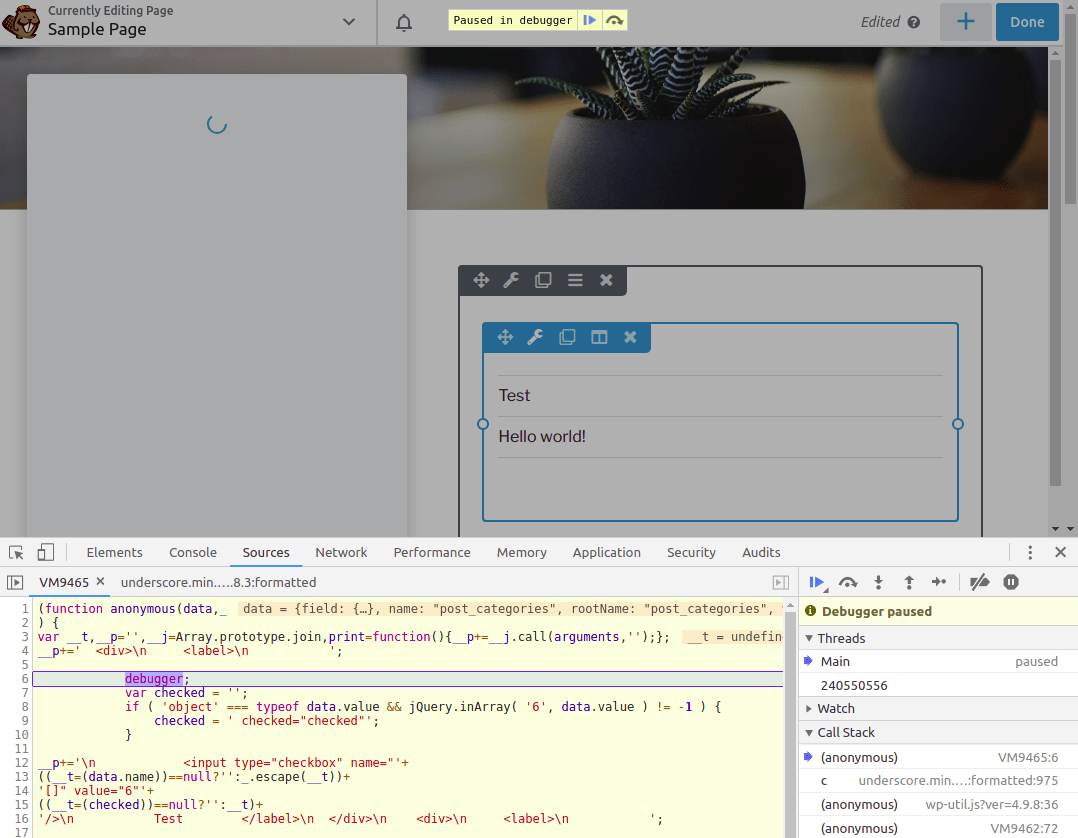
Once it’s paused you can make sure the markup generated by PHP looks good and that the JS is going to do the right thing. In this case, I set up a variable called checked which should add the checked="checked" attribute if this category is indeed checked. The checked var gets replaced in the checkbox input through the {{checked}} tag.
Whew! That’s a lot of checks!
Here’s what it looks like when you’re stepping through it in the debugger to make sure everything is working:

Ship It
Once you’ve confirmed everything is interacting the way you want it to, you’ll have a custom Beaver Builder field type to use on your project!

The saving of the checked values is handled by Beaver Builder and are now available for you to use in your frontend.php template. Check out our example code to see how we built a simple loop limited to those categories to build a list. Hopefully this helps you if you’re looking to take your Beaver Builder sites to the next level.
Do you have a tutorial on custom fields using the Divi theme?
Hi, Jaun-Paul, thank you for your comment. At WebDevStudios, we have not published a tutorial on custom fields using the Divi theme. However, we do recommend checking out the Elegant Themes blog and YouTube channel. Good luck to you.