WordPress block development can be daunting. It’s already intimidating enough that you need to know ReactJS, you also need to install and configure tools like webpack, Babel, and ESLint.
Here at WebDevStudios, we like to build things; and we love to do so conveniently and efficiently. That’s why we built a scaffolding tool that sets up everything you need to focus on building your block! Meet @webdevstudios/create-block.
Requirements
You need to have the latest Node and NPM installed. I highly recommend that you use NVM to easily manage and switch between Node versions.
Getting started

Navigate to wp-content/plugins and run the command below. Grab yourself a cup of coffee or tea while waiting for the scaffolding process to finish.
$ cd wp-content/plugins
$ npm init @webdevstudios/block [Namespace]/[BlockName]
Where [Namespace] and [BlockName] can be anything you want.
What’s inside?
Immediately, you can see the scaffolded plugin in your dashboard.
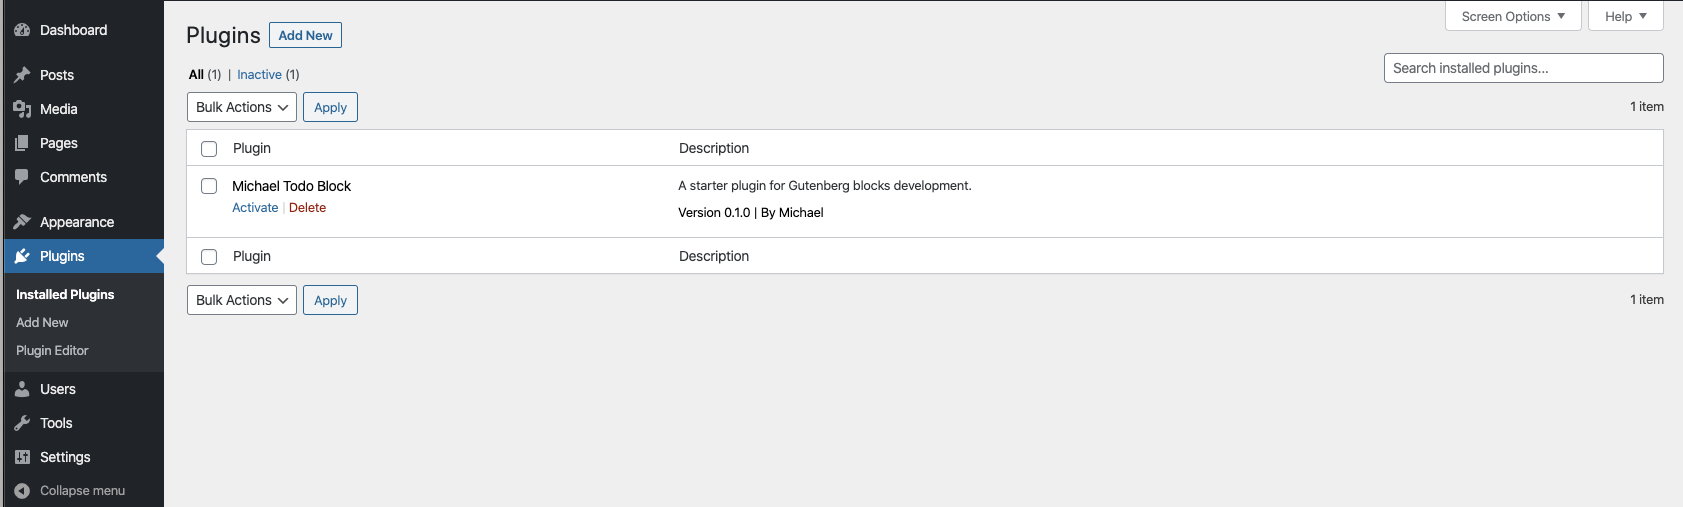
The scaffolded plugin also has a demo block created for you.
Inside the plugin files
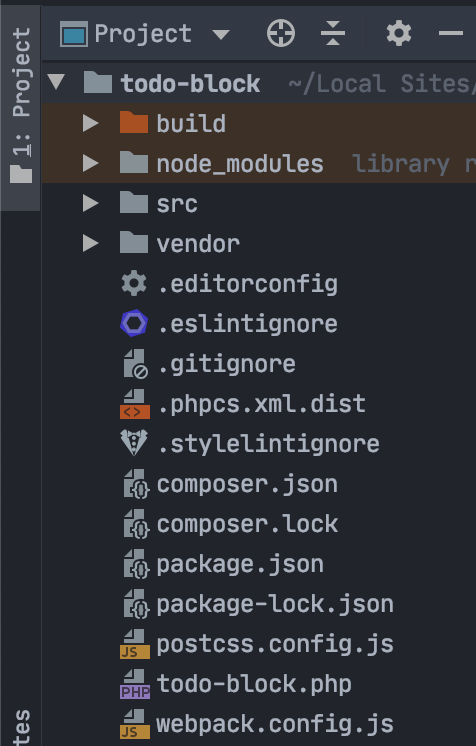
I won’t go into details on each of the files and directories but to give you a general idea:
build/ is where the compiled assets are located. The JS and CSS files here are the ones enqueued (loaded) in your WordPress. Build/compiled files are auto-generated and shouldn’t be edited directly.
node_modules/ is where the npm packages are installed.
src/ is where you’ll create all your files.
vendor/ is where the composer packages are installed.
todo-block.php is the main plugin file.
If you are not familiar with composer.json, package.json, webpack.config.js, and the other files, it’s alright. That’s the beauty of our scaffolding tool. All of these are pre-configured, and you don’t need to touch these files, unless necessary.
Inside src/ is the block/ directory. This is where we will create our block(s). Inside block/ you’ll see rich-text/, which is the demo block.
Inside src/block/rich-text are the following files:
edit.js describes the structure of your block in the context of the editor. This represents what the editor will render when the block is used. Read more here.
editor.scss are the styles rendered in the editor. If you are not familiar with `.scss`, you can still treat it as CSS. `.scss` is CSS in steroids, hence the additional `s`. Kidding aside, it’s Sass. I highly recommend that you start using it.
index.js is where your block is registered using `registerBlockType()`. Read here for more info.
save.js defines the way in which the different attributes should be combined into the final markup, which is then serialized into post_content. For most blocks, this is how the block appears in the frontend. Read more here.
style.scss are styles rendered in both editor and the frontend.
Included commands
npm start – Make sure that you are running this command during development. Doing so will automatically build/compile your assets as you develop.
npm run build – Build your files.
npm run lint:css – Run linting to your stylesheets.
npm run lint:js – Run linting to your JS files.
npm run lint:php – Run linting to your PHP files.
Our scaffolding tool uses our WDS Block Starter. If you have any questions, find any bugs, or want to contribute to our scaffolding too, feel free to go over to the GitHub repository.