WordPress 5.8 introduced a new mechanism to configure the editor based on theme.json known as Full Site Editing (FSE). Gone are the days of adding content to templates using HTML and PHP. Now, making updates to your site templates is as easy as in the block editor. WordPress FSE is a first step in managing styles for future releases.
One of the most interesting aspects of WordPress FSE are the block-based themes. All of the previously dynamically created parts of a theme (i.e., site title, site tagline, navigation, widgets) have become blocks. You can use Gutenberg blocks to create your entire website and not just a page or post.
For Five for the Future, I gave myself the task of creating a theme with the minimum requirements and used the Gutenberg Editor to create a block-based theme. Here’s how that went.
Full Site Editing Minimum Requirements
WordPress FSE has three simple elements. All you need is WordPress 5.8, Gutenberg, and a block-based theme.
Before you can use the site editor to create new block templates, a block theme needs to be installed and activated. Let’s create one.
Initialize a Block-Based Theme
Before taking the following steps, the Gutenberg plugin must be enabled.
- Create a new theme folder inside
wp-content/themes. - Create a
style.cssfile for your new theme. - Create a blank
functions.phpfile. - Create a blank
index.phpfile. - Create two new folders inside the theme folder:
block-templatesandblock-template-parts. - Inside the
block-template-partsfolder, create an empty HTML file calledheader.html. - Inside the
block-templatesfolder, create an empty HTML file calledindex.html.
WordPress FSE themes use a standard style.css file header.
Themes do not require functions.php to work. If you need to enqueue styles, JavaScript, fonts, create block patterns, or use hooks that are not available for blocks, you can use it to cover things that full site editing can not do yet.
Without a blank index.php file inside the theme folder, WordPress will consider the theme broken. In order for Gutenberg and WordPress to recognize that the active theme has Full Site Editing support, the theme must include an index.html file and it must be placed inside the block-templates folder.
Although not required, block-template-parts help structure the theme with reusable smaller parts. For example, for block-based themes, /block-template-parts/header.html is the equivalent of header.php seen in classic themes.
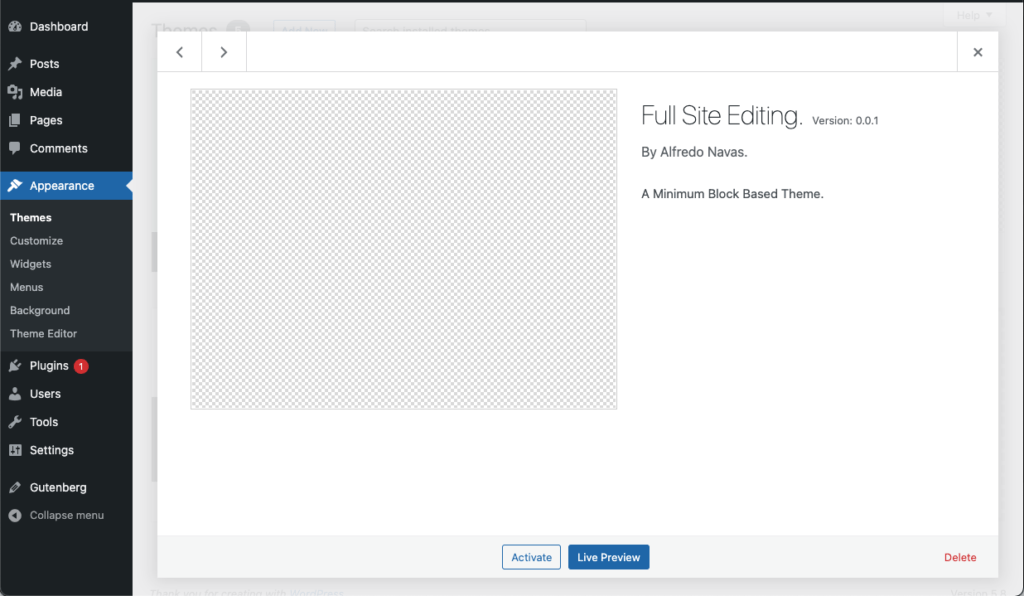
Activate the Theme
Once we have this set up, let’s get into the editor and activate our theme. Navigate to Appearance > Themes and there you will see your new block-based theme. Now, click the activate button.
Creating a Header
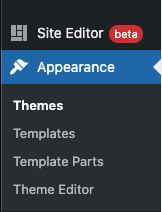
After activating my theme, the first thing I noticed was a change in the Appearance menus. Now, I have the new Site Editor tab:
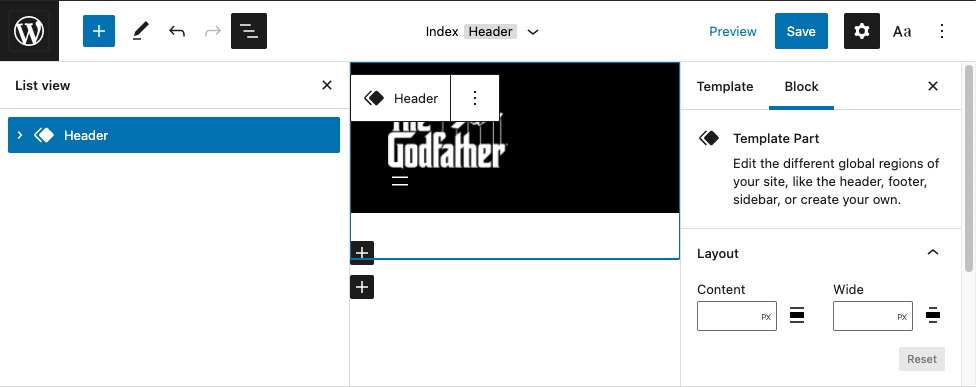
Using the Site Editor, I will create my header. From the editor menu, go to Site Editor. I will go ahead and select the header by clicking on Template Parts => Header.
What’s really neat is that you have the option to isolate the template parts you want to edit.
Although we previously created the header.html file, it does not mean we cannot create it also from the editor. Do this by clicking the + symbol.
The theme editor is no different from the Gutenberg editor; and thanks to the Gutenberg plugin, I have a set of blocks to edit my header.
I will set the basics to my header: a Logo, and a Navigation. In the screenshot below, you can see the structure of the blocks used to create the header template part.
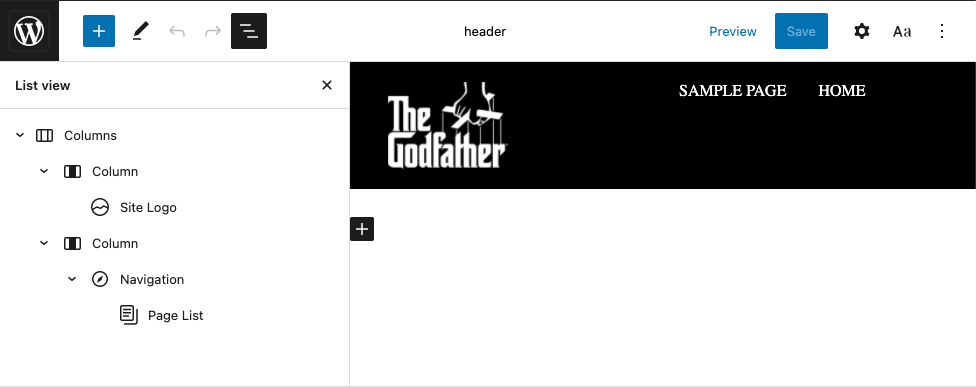
The Site Logo block displays an image to represent your website. Once a site logo is set, it can be reused in different places and templates. The Navigation block allows you to place a menu of links onto any page so that your visitors can easily navigate to other parts of your site.
The Page List block displays a list of your site’s pages. You can use the Page List block to automatically compile and display a hierarchical list of all your site’s published pages.
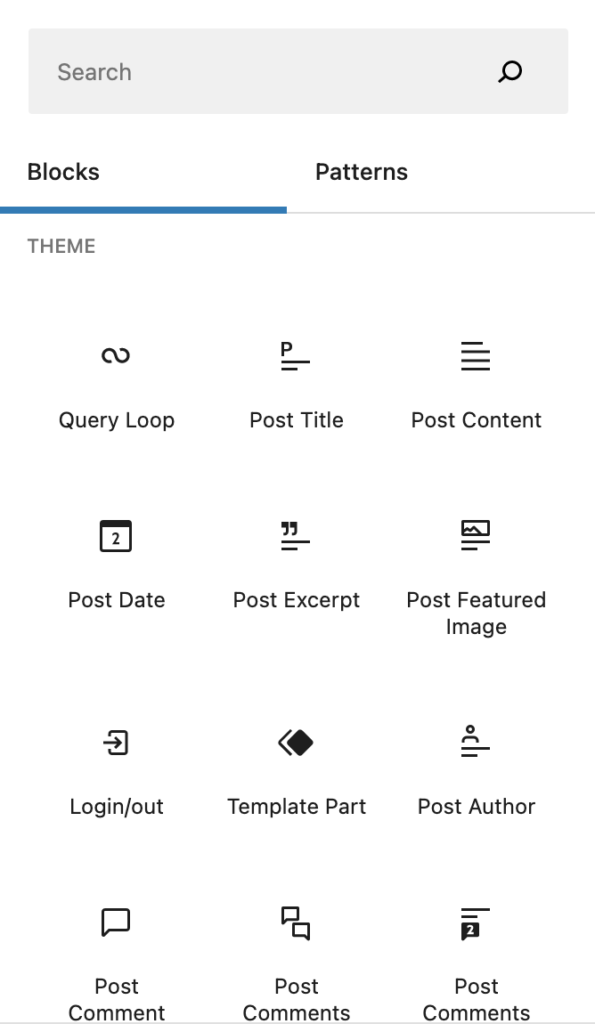
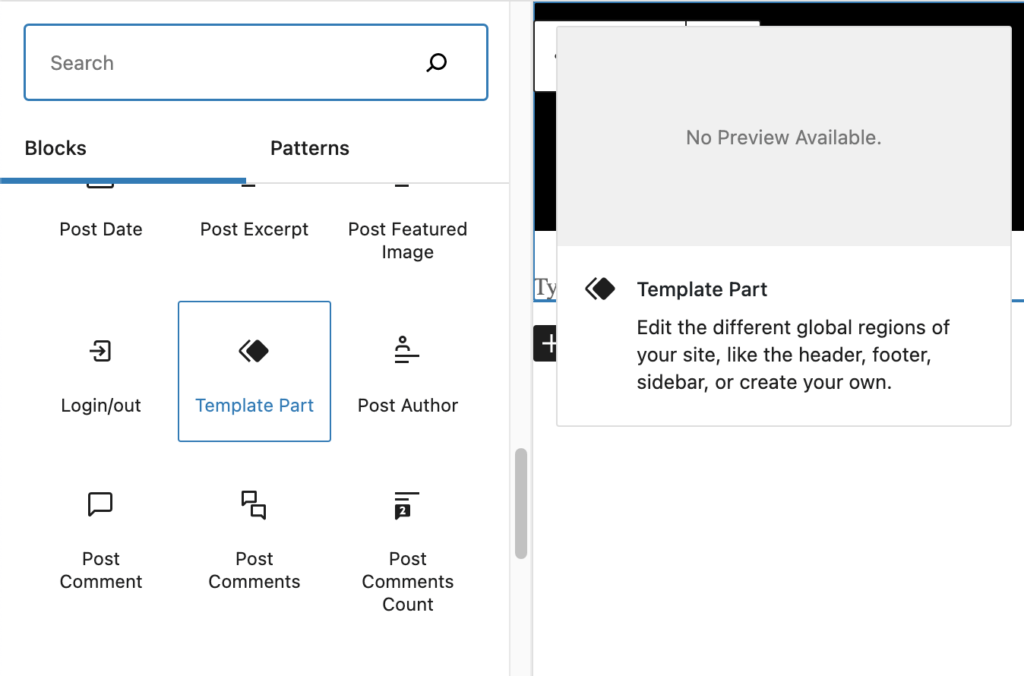
Within the block library, under the “theme” category, we have several blocks to build our templates using the Site Editor. I will not refer to all but to the ones that I am going to use for this first look. Always check the official documentation for the latest on these blocks.
Adding the Header to the Index Template
With my header finished, I am going to add it to my Index template. Still on the site editor, under Templates, you will see your index template. Click on it to open the editor. So far, we have not left the editor to start building our theme based on blocks.
From within the editor, from the block library, Template Part => Header, the Template Part Block allows me to add a template already created and even create one from the block. So, I select my header previously created.
Creating a Static Page Template
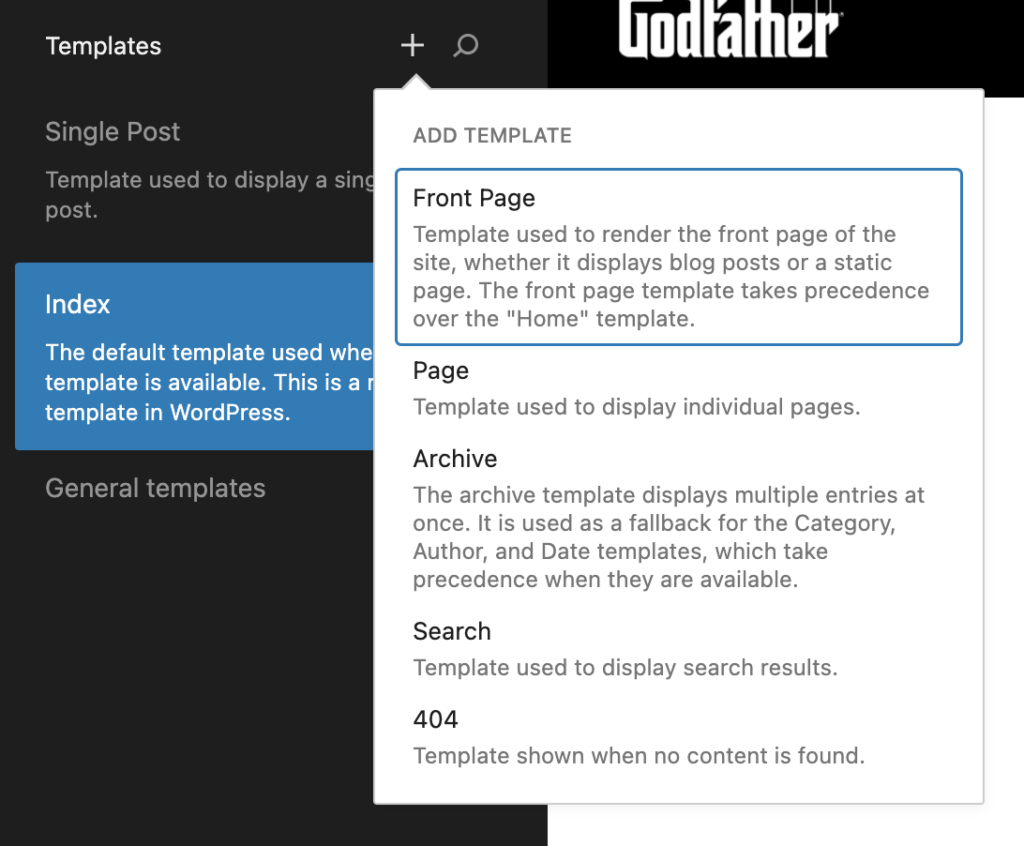
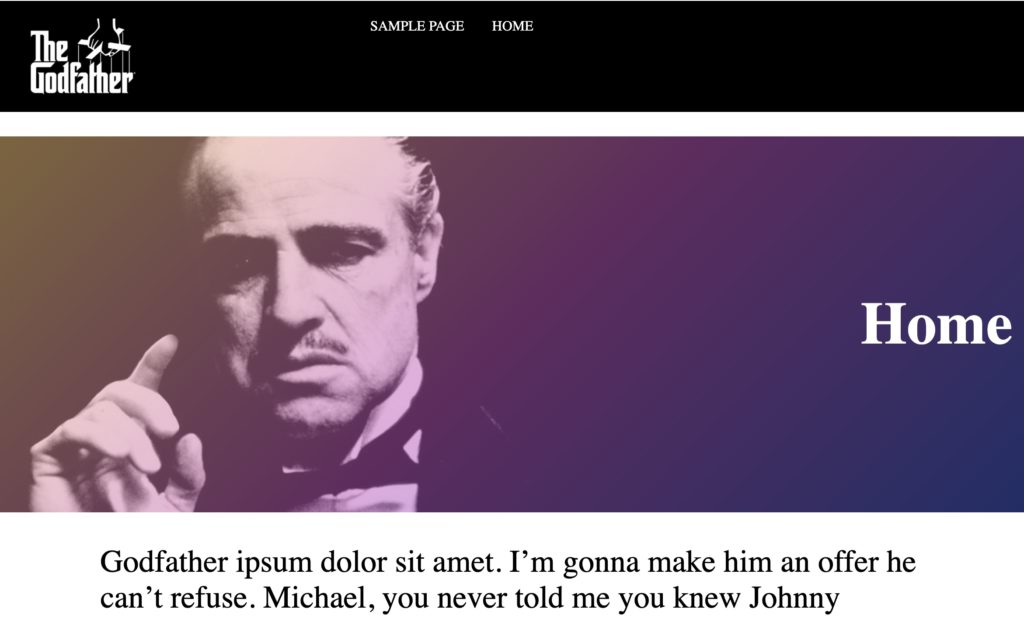
Now, it is time for my static page template. I chose something something minimal—a template with a hero section. Back on the Site Editor, notice that under the Templates Tab there is + sign. That sign will show some WP templates. Let’s choose Front Page.
The front-page template file is used to render your site’s front page, whether the front page displays the blog posts index or a static page.
Once my template is created on the editor, I add the header part. For the hero, I add a cover block,t hat will print the Post Title. With the Post Title Block, you can both display and edit the title text. You can make the title a link, add a rel attribute, and choose whether or not to open the link in a new window.
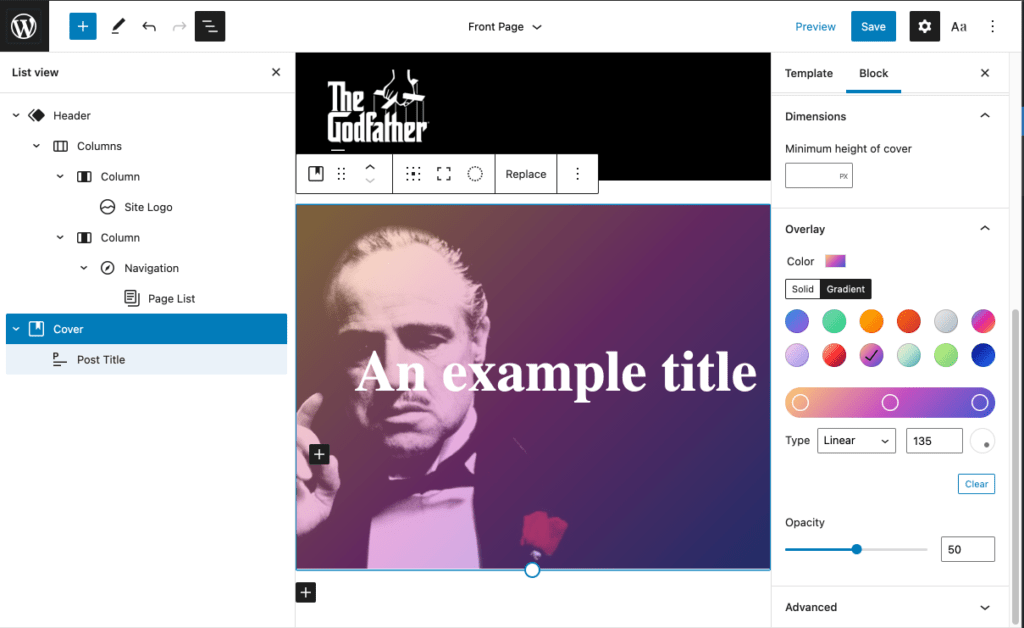
The result is okay. I mean, it was really easy adding blocks. I have a home page created with some content, selected as a static page, without having written a single line of code and no styles; and it has the desired structure.
So far we achieved several things. We created our header, a template, and we added the loop to it without writing a single line of code, using only blocks.
Now, what if we add it to our FrontPage, our latest posts? We return to the editor. This time, we are going to use the Query Loop block. (You can check the official documentation.)
I want to show my latest post in my template, but only on the page I select as a Static Page. Adding the Query Loop Block and following the documentation, I ended up with my latest post in two columns with my featured image on the left and my post title and post excerpt on the right.
I wanted this between my content. The List View option in the toolbar is super useful to control my blocks.
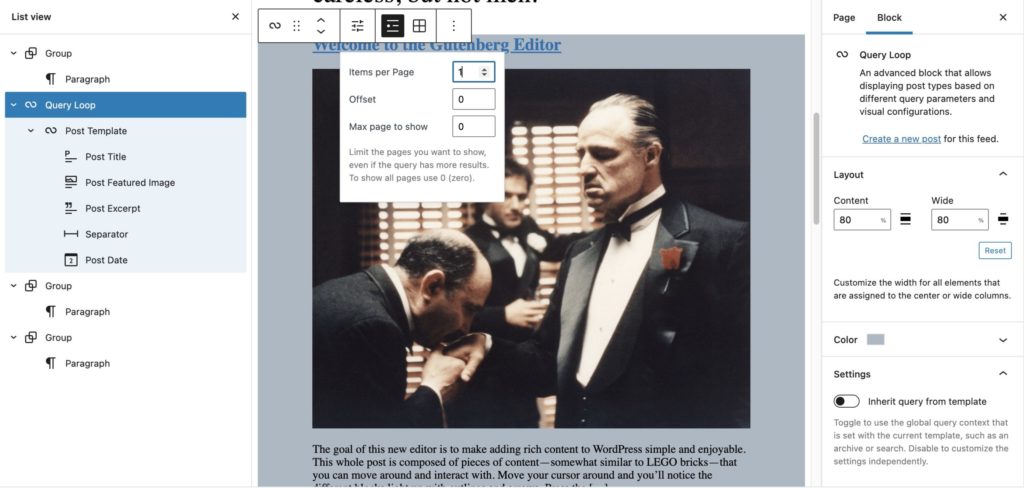
I really recommend you check the official documentation. The query block is really a powerful block.
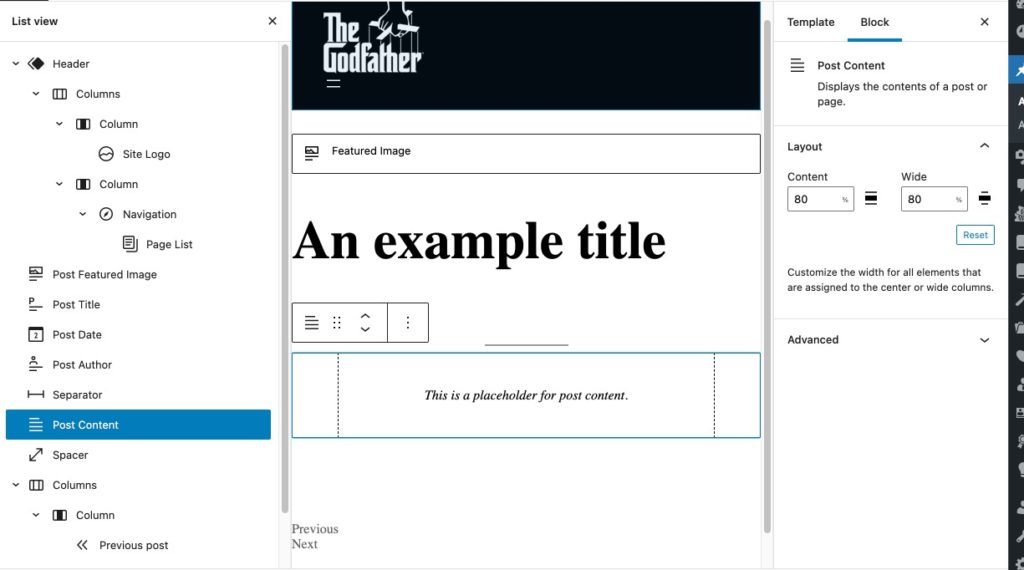
Creating a Single Template
Let me add some more content by creating a single template. For this, I can do it two ways. First, on my Code Editor (IDE), on the theme files, inside the block-templates folder, I can create an empty HTML file and name it single.html.
Back to the editor, always in Site Editor mode, I can see my single template. If I don’t have a code editor on hand, I can also create the single template by going back to the Dashboard on the editor, under Appearance => Templates. There, I can also create any template I need.
This is how I set my single template:
The editor gives us the option to create more templates, such as the one for the pages, archive, and the 404 with only blocks on the editor. Well, as we can see, if it is possible to edit and even create different templates from the editor.
Exporting Your Theme
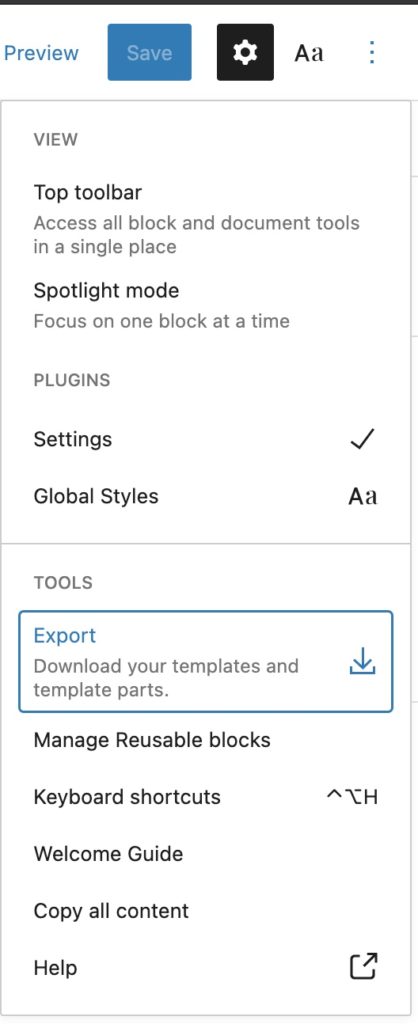
If you wonder how to export your new theme, Gutenberg has a tool for that. From the sidebar menu, click the three dots on the top right. This will open the menu bar. Select Export, and it will compress your site on a zip file so you can easily add to other WordPress installs.
The result of this first try will not win an award for the best design of the year, but here is the final result. Using just blocks, I have my header, a hero section, and I have also created my single post page.
Adding Theme Styles
What about adding styles to my theme? Can I create themes templates without using the editor?
In the next part of this series on WordPress FSE, I’m going to pimp my theme. I will cover how to add Page, Archive, and 404 templates differently. Using HTML tags to add blocks to our templates on the code editor, add styles, and modified some blocks with theme.json.
With block themes, you use blocks to create entire pages or websites. Everything you see on a page is a block.
Great post, waiting for a new pimp my theme. I would love to see more posts about custom FSE theme making for non-coders. And how to achieve a complex website with just blocks. Keep up the great work!
At a glance this looks like a great article and it may be exactly what I’ve been looking for. Can you tell me if it’s still valid now that WP6 is out? I’m looking for starter theme to replace _underscores and with everything WP changing so frequently it hasn’t been easy. Thanks, in advance!
Hello Tom, the UI on the FSE Editor has changed for good, the block-based themes structure is still the same, you have a few more blocks, a new panel for the navigation block, and you can lock components and patterns on your template or template part.
Hi Alfredo, thanks for the quick response. I appreciate your help/advice. So, if I’m looking to create a starter theme that will work with blocks this will be a good starting point?
Thank you for the post. I created my first FSE theme. When I export it, the template HTML files contain image URLs with images from my original website. So, when installing the theme, it will still download the images from the original website. Is there any way to bundle the images with the FSE theme and include them in the theme package?
Thanks!
Hello Milos, if you are adding the block markup with an image on your template, yes it will have the previous path when exported, what you can do is create an assets folder for your default images and change the URL path on the markup once your site is exported, also I see on other FSE themes is using a service like placeholder.com and replace the images URL with generic ones. Hope this helps.
This no longer works with 6.1.1. Site Editor is gone
Hello Douglas, thank you for bringing this to my attention. The site editor is now called simply ‘Editor.’ I wrote my article on version 5.8, so I haven’t experienced the issue you mentioned on version 6.1.1. Nevertheless, I appreciate your feedback and will keep it in mind if I update my article in the future. Thanks again and have a great day!”