Keeping up with JavaScript is not difficult. If you are still new to Remix, the web framework, and would like to try it, then this article is for you!
Why Not Remix?
Every day, we see new changes and improvements in the JavaScript ecosystem. Remix gained popularity with the hype from top website agencies and developers.
Is it worth the hype? Give it a try and you can conclude for yourself.
With in-built hooks and components, Remix makes it easy to fetch data, create dynamic routes, use forms and handle errors. It also comes with HTTP helpers to get responses in JSON and to redirect.
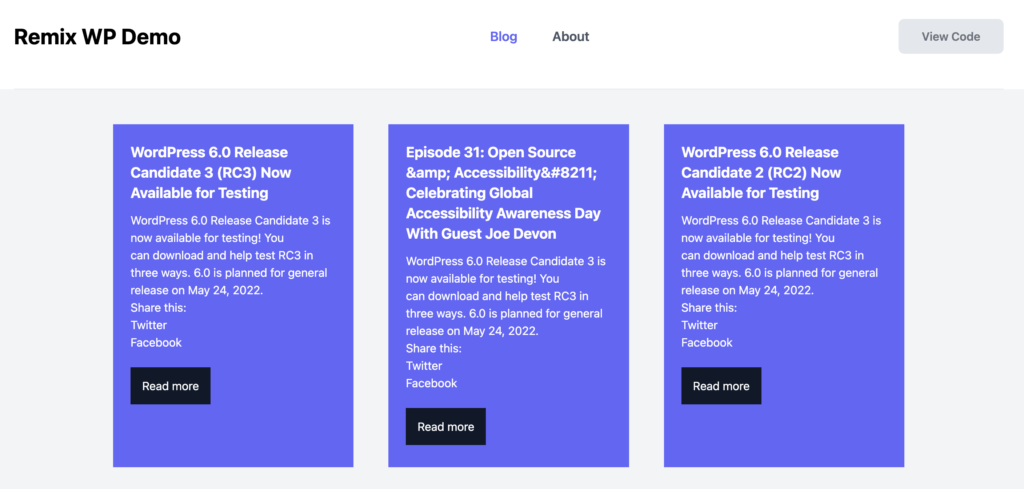
Remix offers only server-side rendering and that makes it different from Next.js. In this example, we will build a simple application that displays a list of posts from a WordPress blog and has a details page and a comments form.
I assume you are a React developer and used some other React-based frameworks like Next.js. This is not a step-by-step tutorial, yet covers the points that you will like to try and explore. Here is the repository for this demo if you like to see the code first.
Installation
Prerequisites
Start the installation by running the commands. This will ask you a series of questions that allows you to choose the location, typescript, and app server.
This is the last step of the installation; you will get a message like:
That’s it! `cd` into "/Users/lax/local/remixwp" and check the README for development and deploy instructions!
README file contains more detailed information about the commands.
Folder Structure
- app – This is like the src/ folder in create-react-app (CRA), where the components of our app are located.
- node_modules
- public – A folder for static files like images and other public assets
- .gitignore
- jsconfig.json – A configuration file for the compiler
- package – lock.json and package.json
- Remix.config.js – Remix configuration file; keep the default config
Let’s start the development. Change your working directory to Remix-wp or the folder where you installed the app and run:
npm run dev
If any app is running on the default port 3000, Remix will increment the port number. In my case, my app started on port 3002 since I have 2 other apps running.
This index page is clean and easy to get started with bare minimal code. I chose just the basics for this demo without using any predefined templates.
Remix comes with a jokes app and a developer blog app example. You can install them and take a quick look.
App folder
The app is the heart of the application. Let’s see what it contains
- routes – Remix supports file-based routing. The folders and files here control the routes.
- entry.client.jsx – As the name suggests, this acts as the entry point for the client. HTML gets hydrated and added to DOM through this file.
- entry.server.jsx – This runs only on the server side. This acts as the entry point to the server and generates the HTML and server response.
- root – This file is equivalent to App.jsx of the CRA and the default component that loads first.
Tailwind
Install tailwind package.
npm install -D npm-run-all tailwindcss
Create Tailwind config file.
npx tailwindcss init
Update tailwind config and mention the files to be added.
content: ["./app/**/*.{ts,tsx,jsx,js}"],
Add the commands to scripts in package.json.
Then, import tailwind on app/root.jsx.
Add Document, Layout
As this app doesn’t contain a global document, layout, and error boundaries set. Let us add them to root.jsx.
This works similar to the Next.js Document file, where you load the child components and nest them to the main layout. Remix provides an outlet component that will render content according to routes. To keep the layout of the app uniform, let’s wrap the outlet component with a layout, which in turn is wrapped inside a document.
Document will return the child components and the HTML markup, as described here.
This is a simple layout that contains a header and footer.
Setting up an error boundary is easy, as it comes out of the box with Remix. To keep things simple, I have added a console.log to check error messages on the log and also display them on the frontend.
Components and Hooks
The header, footer, and comments form are the components of this app.
- Link – Used to add hyperlinks
- Form – Renders an HTML form and provides the submitted form data using the useActionData hook
- useLoaderData – This hook is the Remix version of getServerSideProps in Next.js. This allows you to fetch data and make it available via the loader function.
Routes
It is no wonder that routes are easy in Remix, as it is created by the same people behind React Router. You don’t have to manually define each route. A folder or a dynamic route that has ‘$’ in the file name would be considered a route.
Fetching data
Posts/index.jsx file fetches data and lists them out using the loader function. Each post item is linked to its detail page using slug as the dynamic route.
useParams hook is used to access parameters on the dynamic route.
Comment Form
Import the form component. You can intercept the form submission and validate each field. Then, process the submitted data.
As a PHP developer, I found the usage of forms with Remix so exciting.
You can set the form action and access the submitted data there. In this example, we have a comments form and display the raw submitted comments. You can extend this by sending data to the WordPress source and displaying the response.
Deployment
Deployment instructions will get added to the README file during installation. You can deploy this app as you would deploy any node app.
npm run build
Then run:
npm run start
Test your app locally. Choose a host of your choice. I used Vercel to deploy this app. Once you choose the repository, Vercel will automatically pick up the configuration for build commands and run.
Conclusion
There are a few areas that you can continue working on in this example:
- Make the WordPress source URL an environment variable.
- Add components for each post item in the posts list.
- Add a frontend form to allow users to submit post content.
- Add a terms route for tags or category archives.
And the list goes on!
I hope you find this quick overview of Remix helpful. Try it out and let us know what you think in the comments below.